Hip strength plays a valuable role in the mechanics of your whole body. Examples of some hip strengthening exercises for runners to increase stability and endurance include:
- Heel Activator
- Hip Abduction
- Heel Drop + Hip Hike
- Knee Drive with band
- Lunges with med ball
- Monster Walk with band
- Quadruped Series
- Heel Drop
- Split Squat

Hip Strengthening Exercises for Runners (With Video Instruction)
If you’re not quite sure where to start when it comes to strength training, integrating the above hip-strengthening exercises into your training plan is a great place to begin. Coach Andrew Simmons and Dr. Jesse Riley have designed this video to walk you through nine simple exercises designed to challenge the muscles you need to stay injury-free.
You can load these posterior chain exercises into a workout on your calendar with the new strength builder in TrainingPeaks. Read on to see examples and the rationale behind each move.
1. Heel Activator (0:45)

This warm-up movement is great for calf strengthening and to help retrain how the foot hits the ground. The key point with this movement is to squeeze the lacrosse ball between your heels through the full range of motion, which will train you to move from the outside of the foot towards a fuller foot strike.
You’ll feel this one from your heels through your glutes! We recommend working up to three sets of 10 reps. Turn up the intensity by going slower per repetition (3-5 seconds up/down).
2. Hip Abduction (2:00)
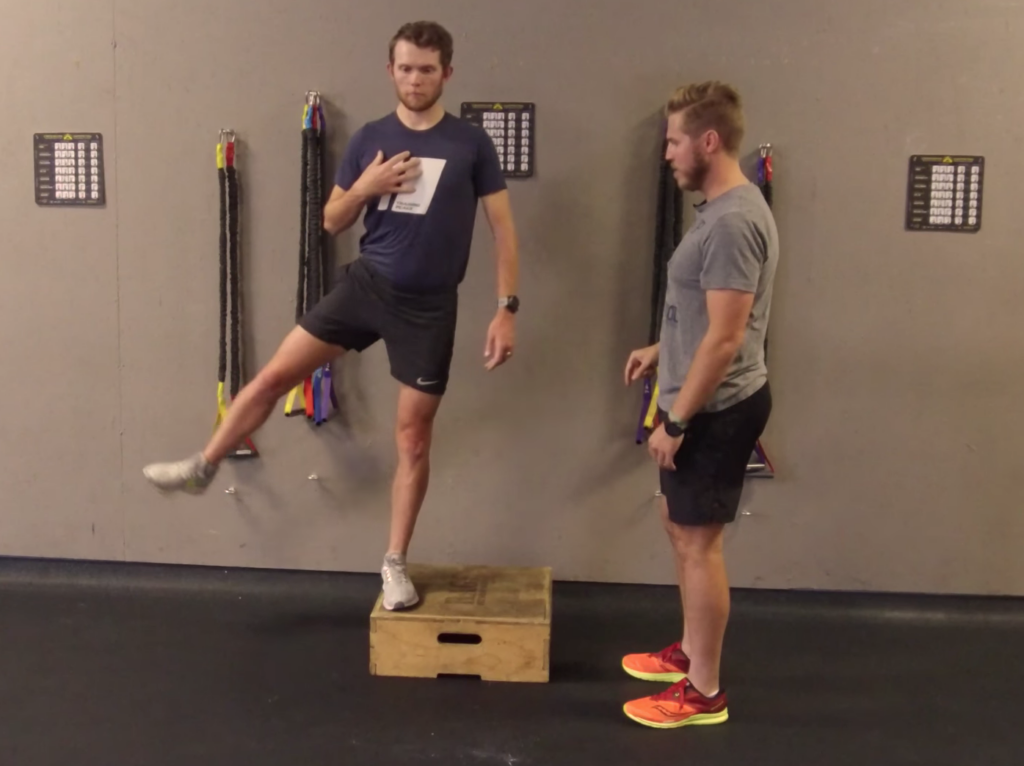
This next movement focuses on the balance you need for a properly supported running stride. On the landing of each step, our balance is challenged in both the frontal and transverse planes. Our hip abductors are powerful stabilizers for counteracting these forces, but they tend to be a weak point with runners.
If your hip abductors are weak, you’ll end up compensating with your back or knees, which can lead to injury. Try this movement to strengthen and take advantage of those abductors. We recommend working up to three sets of 8 reps for each side. Check out the advanced option at the end!
3. Heel Drop + Hip Hike (3:15)
The heel drop and hip hike are the first two movements you should start with if IT Band pain is barking at you, or if you’ve ever looked back at race photos and noticed your knees knocking in and one hip tilted lower than another.
Hip support musculature has to be strong to support the multiplicative effect gravity places on us when we run. This movement teaches you to engage your hip abductors while balancing on your support leg. Add the hip hike (3:47) to take this movement to the next level. We recommend working up to three sets of eight reps for each side
4. Knee Drive With Band (4:20)
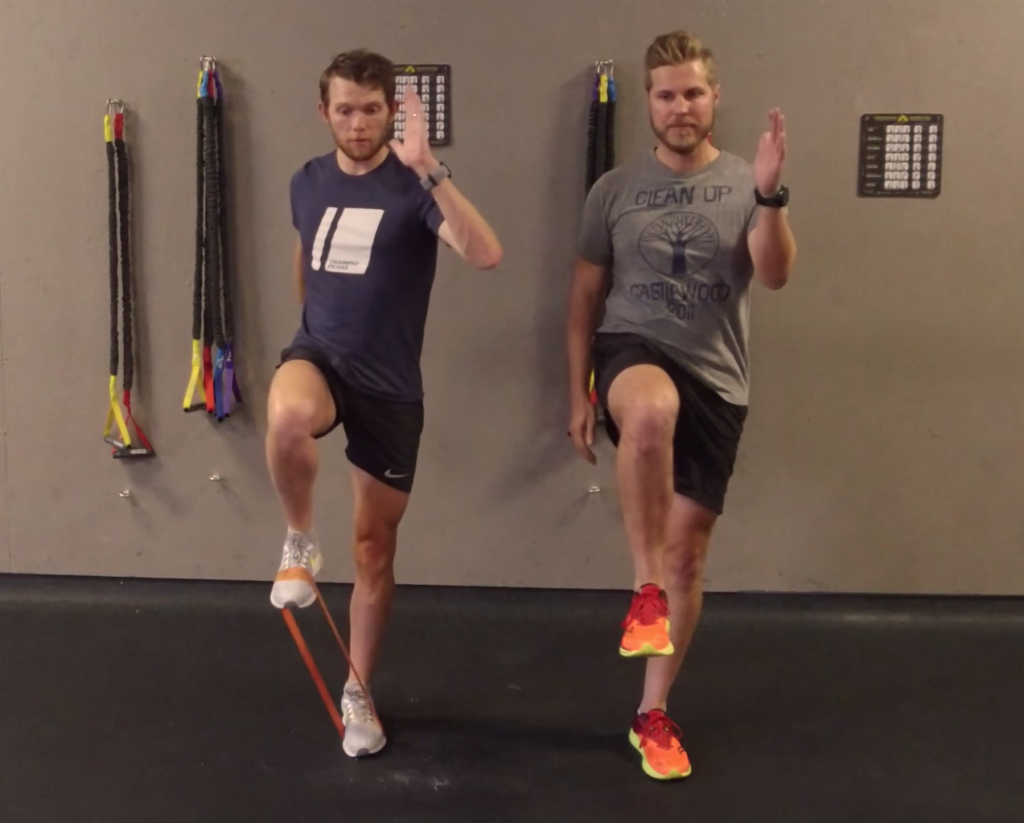
Band exercises may not be groundbreaking but they are extremely effective at activating muscles that we’re trying to specifically target. And when it comes to neuromuscular patterning or retraining our body, we want to make sure we’re working the upper and lower body simultaneously.
The advanced movement here is about loading during the eccentric phase and really targeting hip flexors, glutes, and hamstrings. We recommend working up to three sets of eight reps for each side. Turn up the intensity by pausing at the top for three seconds
5. Lunges With Medicine Ball (5:12)
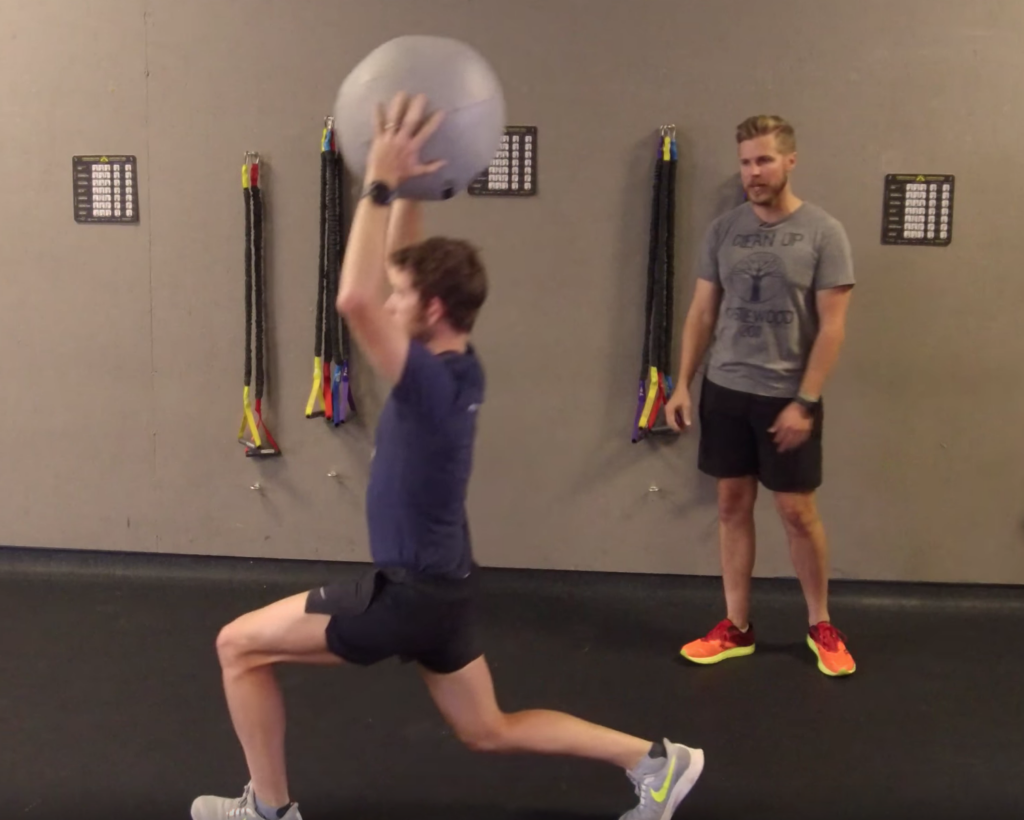
We’ve all done them, but lunges are the perfect way to tie in the work we did earlier to now engage more powerful muscle groups into this workout. Especially if lunges aren’t part of your regular routine, keep an eye on how your knees come over your toes. You want to align them over the center of your ankle to minimize shin angle.
By adding weight (5:39) we’re introducing a challenge for our core in the transverse and frontal planes. For even more of a challenge, complete this movement by walking backward. We recommend three sets of 10 lunges, alternating legs. You will want to make these walking lunges to get the full effect.
6. Monster Walk With Band (6:07)

This movement focuses on core engagement, symmetry, and neuromuscular patterning. Start by going into a mini-squat position. By adding frontal and transverse planes we’re challenging areas we don’t normally see in running strength videos.
As runners, we typically live in a sagittal plane (forward movement). The variation of this movement (7:15) is all about getting great hip flexion and stabilization through the movement. Complete two sets of 10 reps for each side for either variation.
7. Quadraped Series (7:37)
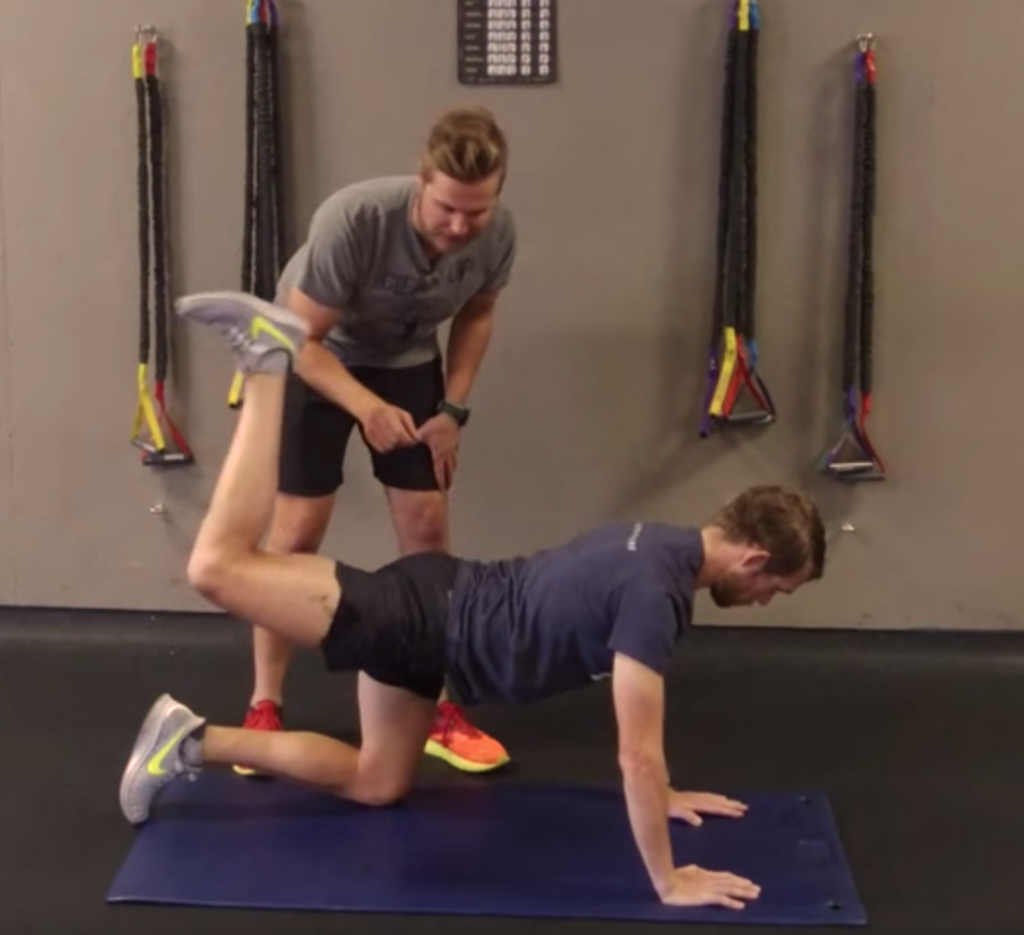
This movement will really get your hips and glutes engaged! If you’d been through PT, this movement might look similar to the work you’ve completed to strengthen hip abductors. These four movements will engage the major support muscles in the hip to help you get strong for when you’re supporting yourself midstance.
Start this movement on the ground. Most athletes new to strength need to be here initially to engage the muscles properly with plenty of balance before moving to two legs. We recommend working your way up to three sets of 10 reps for each side of each exercise.
8. Heel Drop (9:01)

Let’s get you back onto the box. Sink straight through your heel to tap, then drive back up. If you suffer from IT Band pain, this is a great movement to master. Be conscious of your supporting knee to make sure it’s not moving aggressively from one side to another when dropping down or driving up.
This movement takes focus! We recommend three sets of eight reps for each side.
9. Split Squat (9:44)
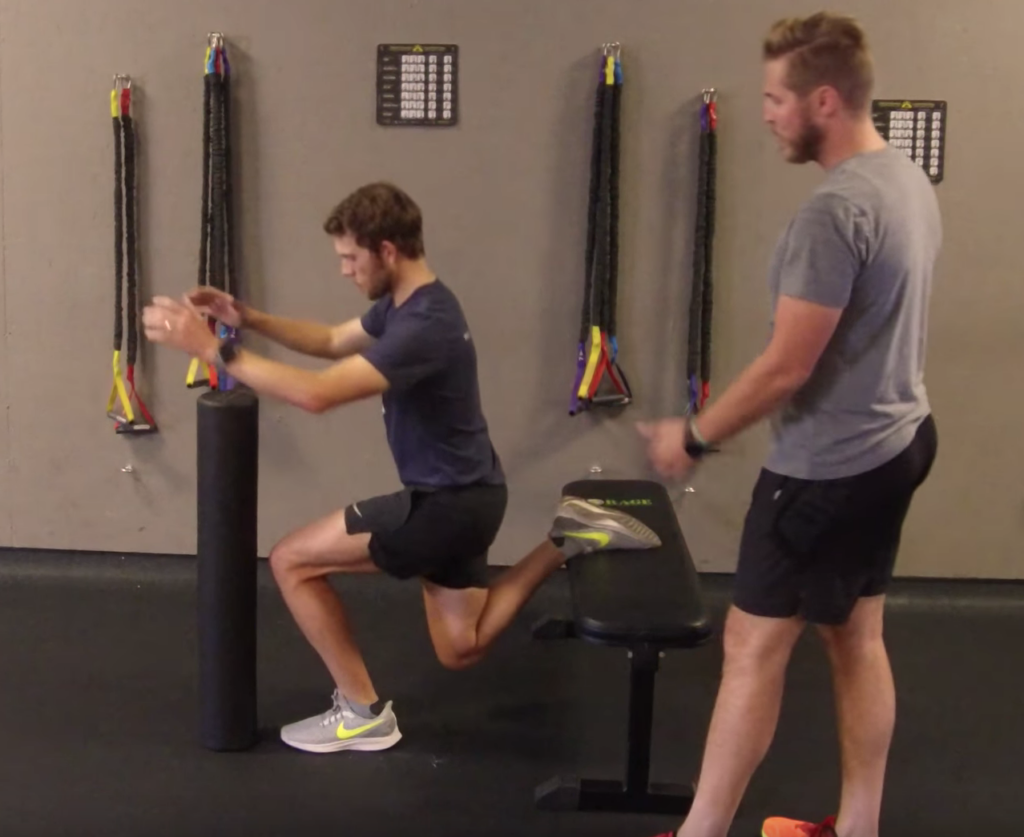
Last but not least, we’re working on a transitional movement that challenges both balance and strength. Using a large foam roller or a wall as a point of reference will be very helpful when you first start. Remember to hinge at your hips first when you are sinking into the movement vs. bending over.
We recommend three sets of eight reps for each side. If you’re looking for more challenge then using a weight vest draped over you or kettlebells/dumbbells at your side will increase difficulty.
Use these movements to start off your strength training routine before adding in more complex lower leg and balance movements to your regimen. You’ll find that you’ll be stronger later into your runs, and feeling significantly less pain after just a few sessions. We’d like to give a big thanks to Dr. Jesse Riley for his expertise in this video. You can find more about him here and find him on Instagram at @docjesseriley.
Dr. Riley has spent the last several years immersing himself in not just conservative management of injuries but also pain management and biomechanics of running and sport. He uses techniques like the SFMA to assess from a biomechanical standpoint, and specializes in multiple treatments like Functional Dry Needling, soft tissue and joint manipulation coupled with corrective exercises to reinforce the treatment. He grew up in Southern Illinois as a year-round athlete, which transitioned into a love for running in his adulthood. This eventually got him to one of the most active areas in the country: Denver, Colorado, where he now runs a practice.


