
With us all spending a lot more time at home, and very limited swimming available, swimmers and triathletes are faced with the challenge of keeping their swimming stroke active without actually swimming. Here we will go through some prehab work and swim-specific exercises to not only keep you strong, but help you be more resistant to injury when you get back in the pool.
Swimmers are particularly susceptible to the following injuries:
- Swimmer’s Shoulder
- Rotator Cuff syndrome
- Rotator Cuff tear
- Shoulder Bursitis
- Shoulder tendinopathy
Fortunately, all of these injuries can be prevented to some degree with scapula stabilizing exercises—which are easy to do at home.
Fundamentals of Shoulder Structure
Your rotator cuff muscles arise from the scapula (shoulder blade) and attach to the head of the upper arm bone (humerus). If your shoulder blade is not dynamically stable, rotator cuff tendinopathy or impingement may occur.
That’s why it’s so important to strengthen the muscles that support the scapula. The exercises that focus on these muscle groups are known as scapular stabilization exercises.
The most important scapular stabilizing muscles that tend to weaken include:
- trapezius (upper, mid and lower fibers)
- serratus anterior
The correct position for the scapula (shoulder blade) is back and rotated down. Essentially, this means maintaining a good ‘military posture’, with shoulders back and chest out—a round-shouldered or hunched posture can put you at risk of rotator cuff impingement or future rotator cuff tears.
To achieve the correct scapular position, you need to use your mid and lower trapezius muscles to retract the shoulder and pull the scapula down medially. However, it is also important not to dip the acromion, so your upper trapezius and serratus anterior muscle also play an important scapular-positioning role.
Correct scapular stability is difficult to learn and demands a great deal of practice and concentration. You first need to understand what the correct position is, and often this requires a physiotherapist to guide you. Then, during your training sessions, instruction and observation from a trainer can help you achieve and maintain the correct shoulder position.
When you perform any upper body training exercise, always get into the habit of starting with good upper body posture and pinching the shoulder blades together. You should feel that the scapula is a solid platform, which keeps the shoulder correctly positioned while you perform the exercise.
You might even find that pain with certain exercises is relieved if you stabilize your scapula correctly. In effect, by using the scapular muscles you can achieve better shoulder mechanics and avoid injury.
Correct Shoulder Mechanics
The shoulder has to go through a lot to make up a proper swimming stroke. One thing that we have to remember is that every muscle has an antagonist muscle. For example, if you contract/shorten your bicep; your tricep extends, or ccentrically contracts. If one is stronger than the other, there will be an imbalance that can cause injuries down the line.
All the muscles need to be firing off at the right time for the whole system to work properly. To establish balanced patterns, the movements we will be looking at are:
- Medial (Internal) and Lateral (External) rotation of the shoulder joint
- Flexion and Extension
- Abduction and adduction
These are all the basic movements that need to be activated to stabilise the scapula. Do the following exercises to train these movements properly, and you’ll gain efficiency in your swim stroke while also preventing injury.
Internal and External Rotation of the shoulder joint: Elbow to Hip Rotations
Teaching Points:
- Elbow tucked in
- Only shoulder rotating

Exercise

Variation
Teaching Points:
- Elbow in line with the shoulders
- Keep the elbow at 90 Degrees

Exercise


Internal Rotation
Teaching Points:
- Elbow tucked in
- Only shoulder rotating


Lateral Raises
Teaching Points:
- Elbows slightly bent
- Only to shoulder height

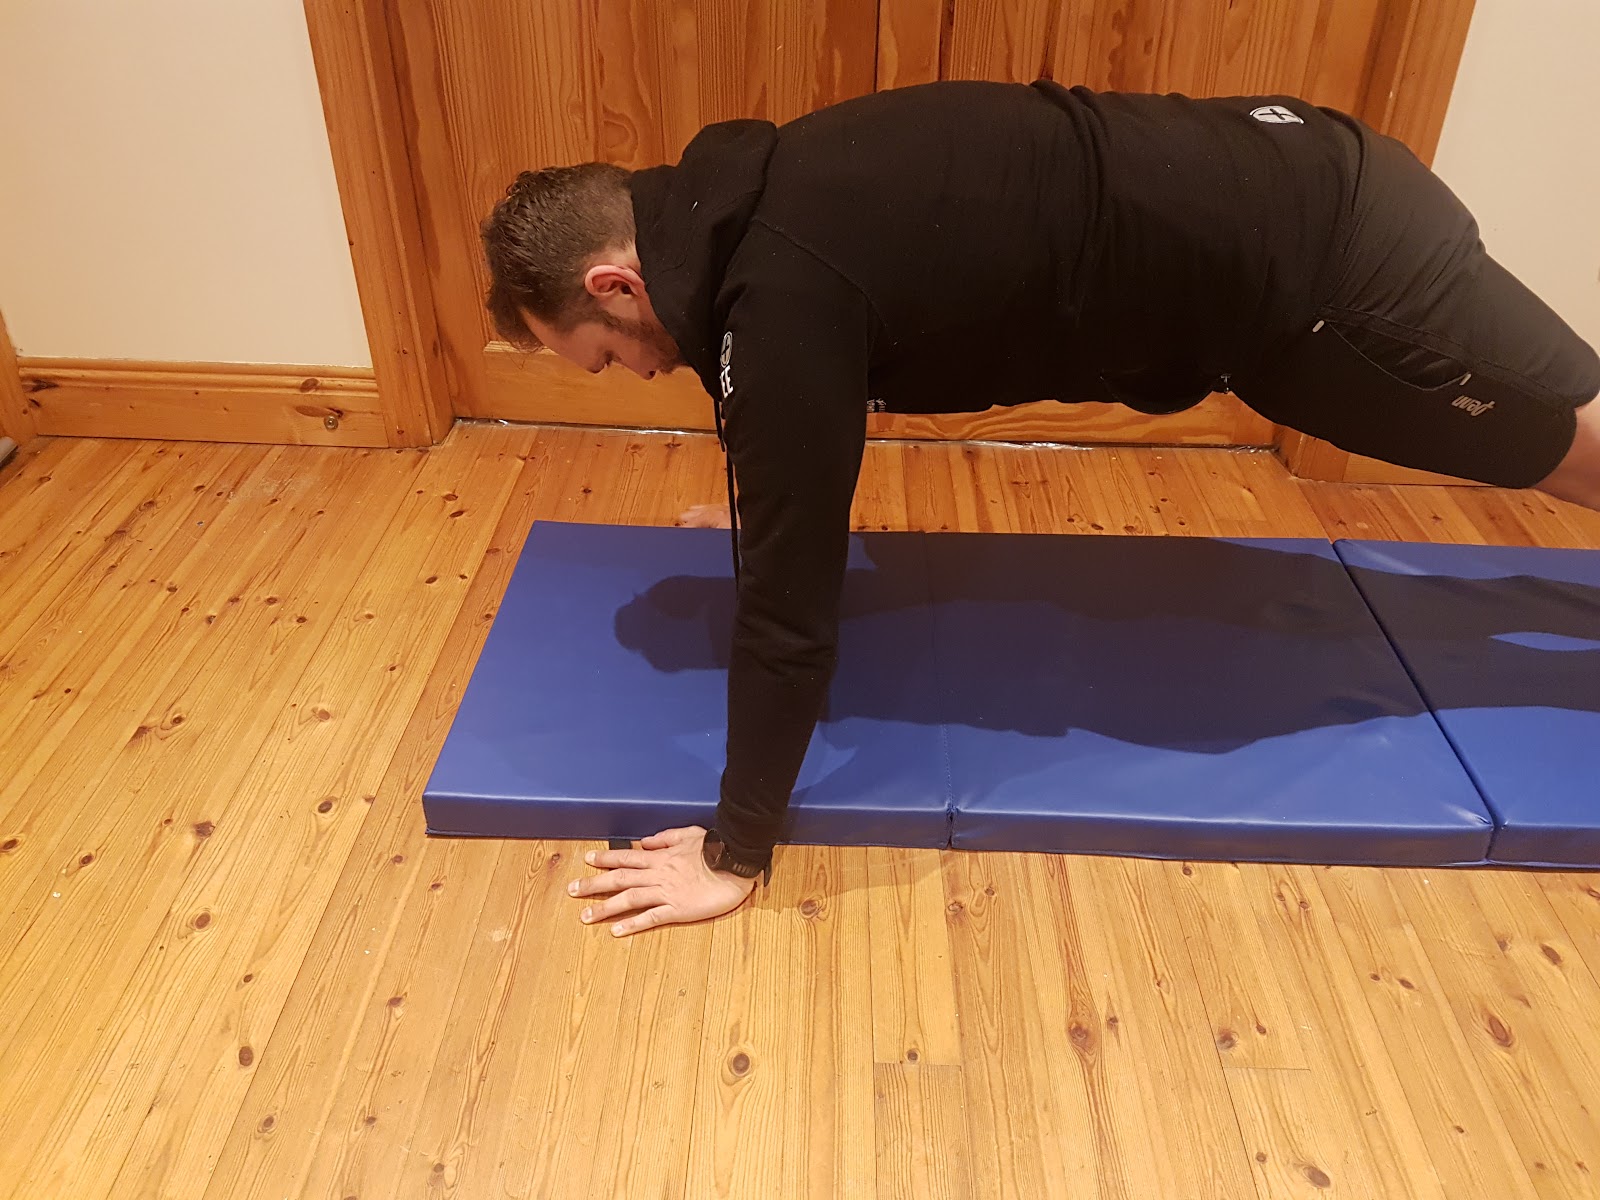
Flexion and Extension:Pull-ups/Push-ups
Teaching Points:
- Pull-ups can be full-body or assisted
- For push-ups, hands should be just outside shoulder width
- Can be done on the knees or full body

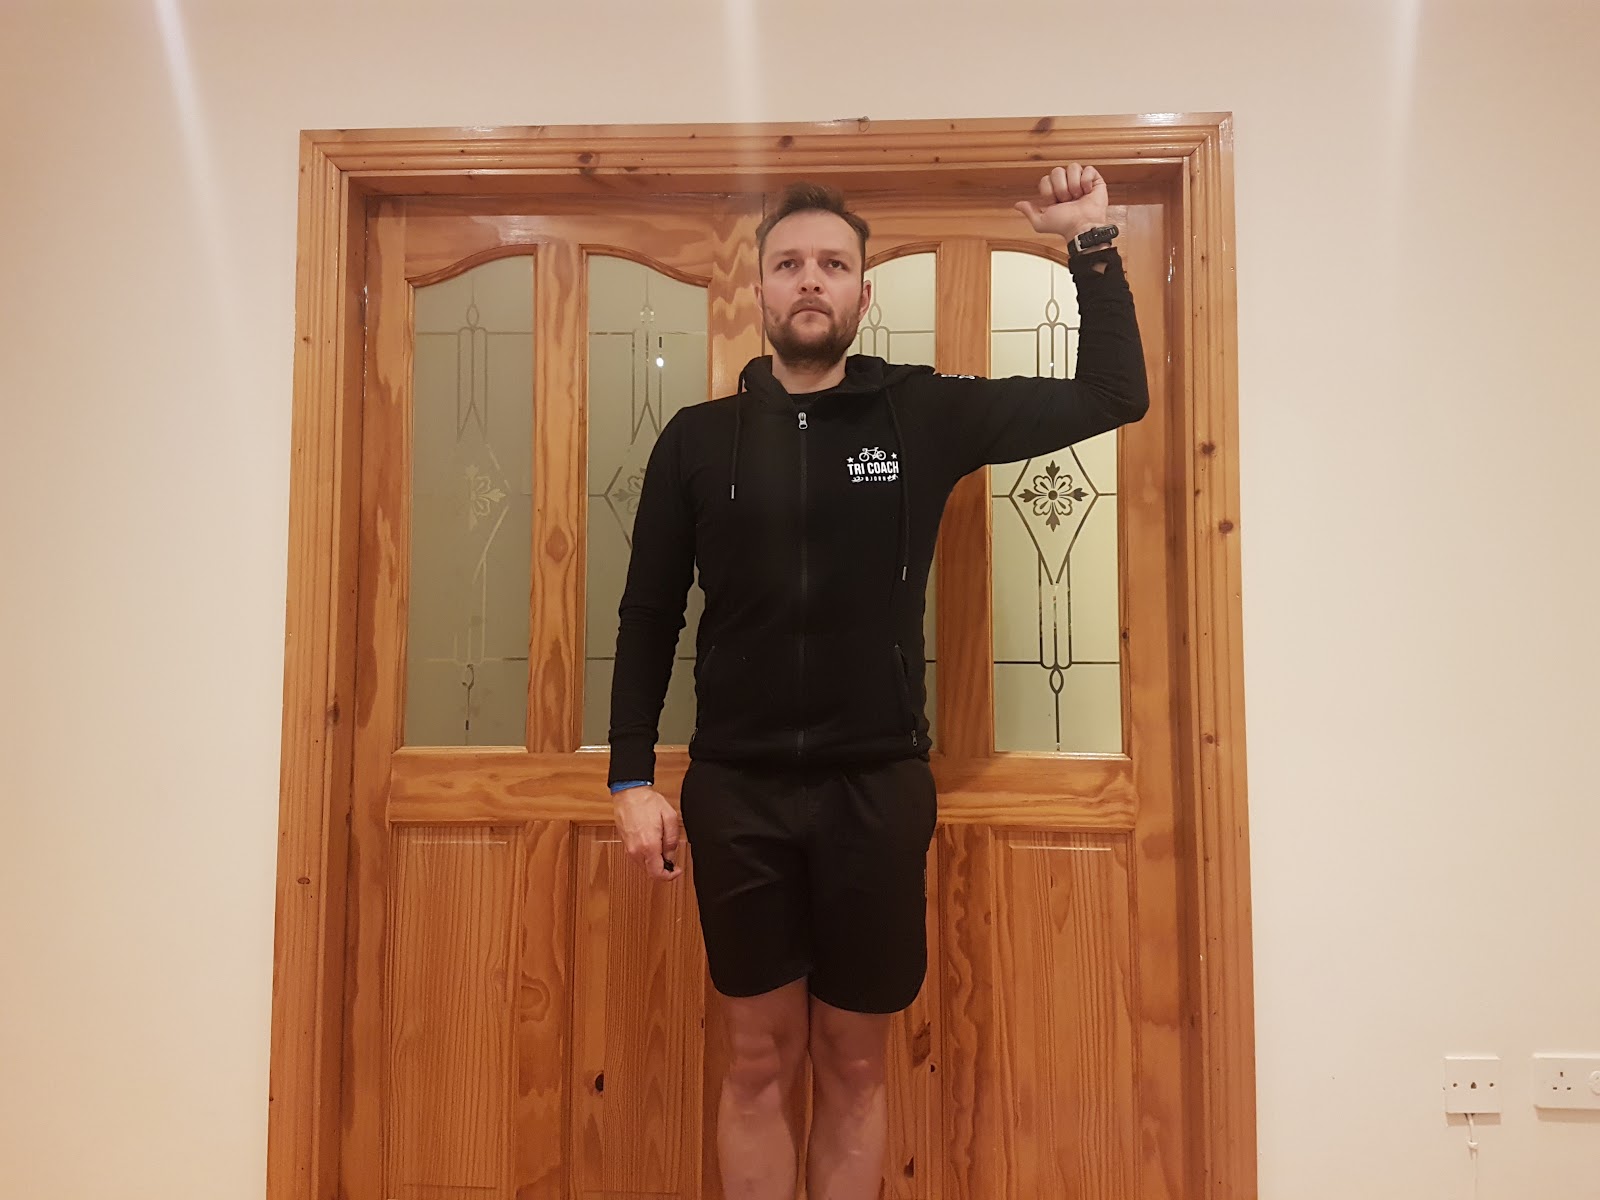
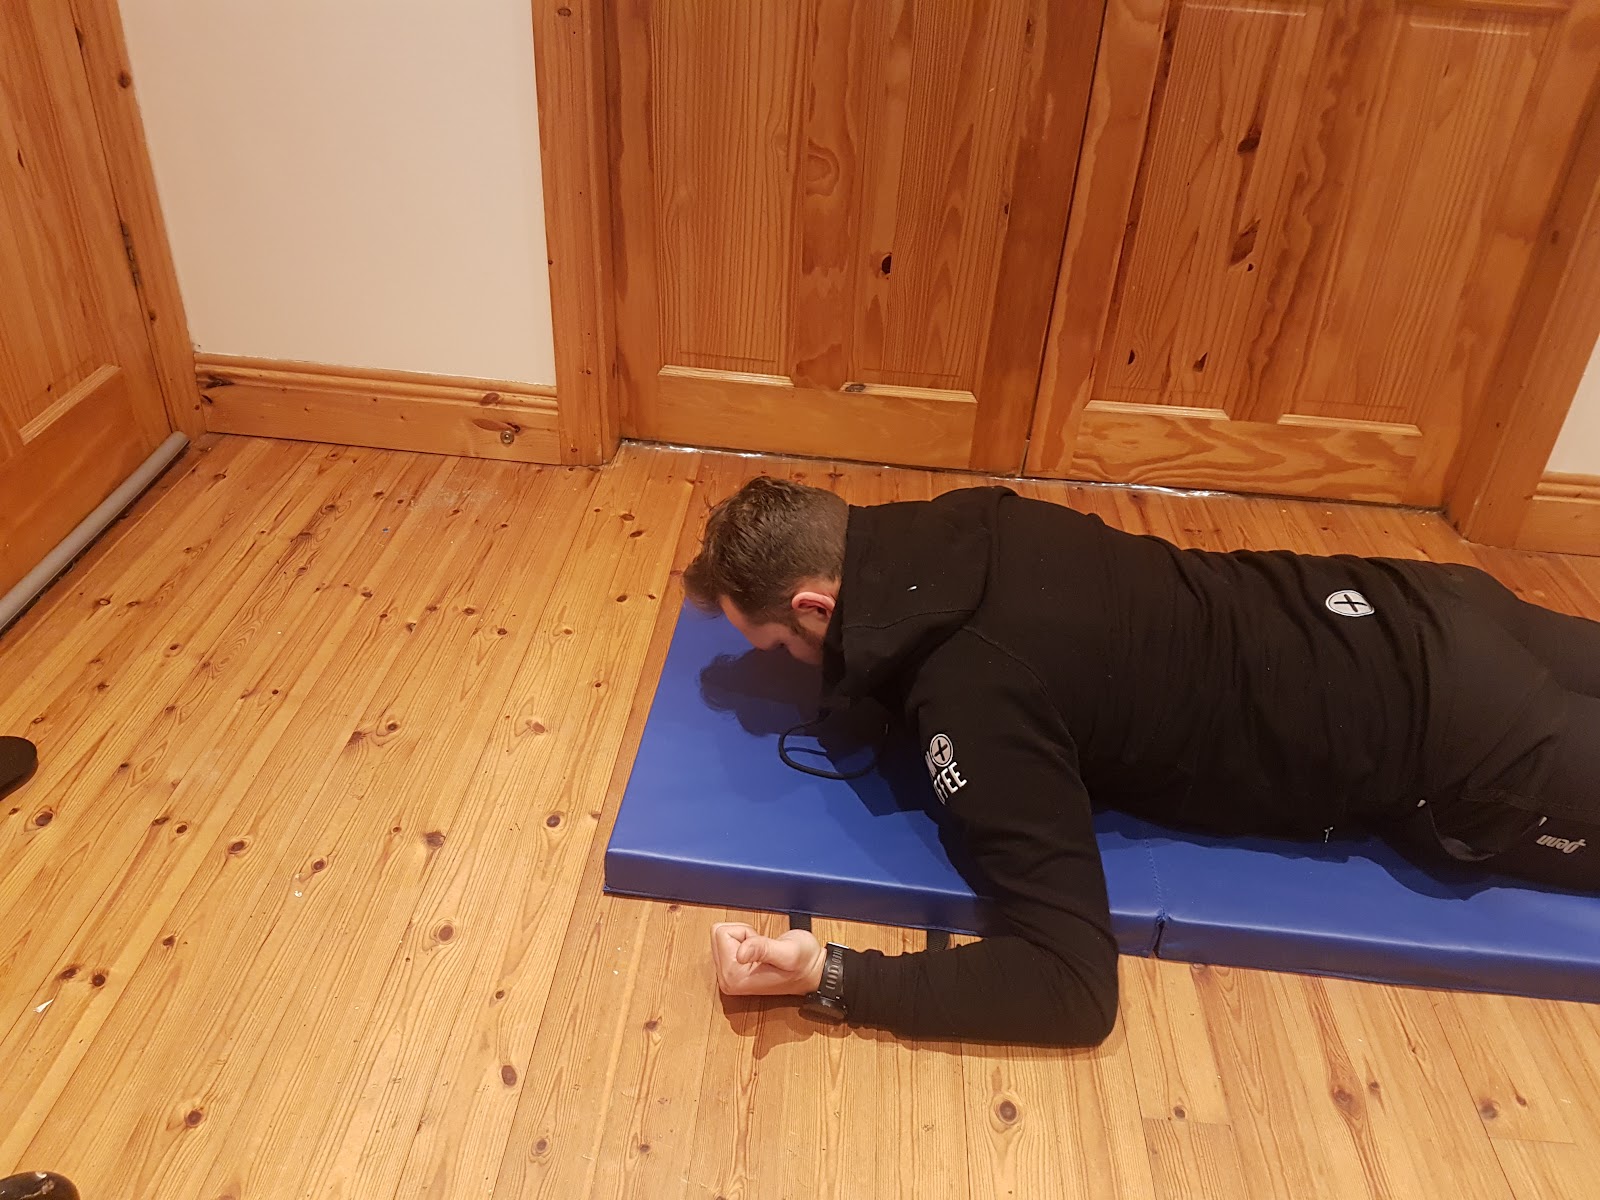
Shoulder/Scapula Retraction: Y-Move
Teaching Points:
- Thumbs pointing up
- Squeeze the shoulder blades together


T-Move
Teaching Points:
- Thumbs pointing up
- Squeeze the shoulder blades together


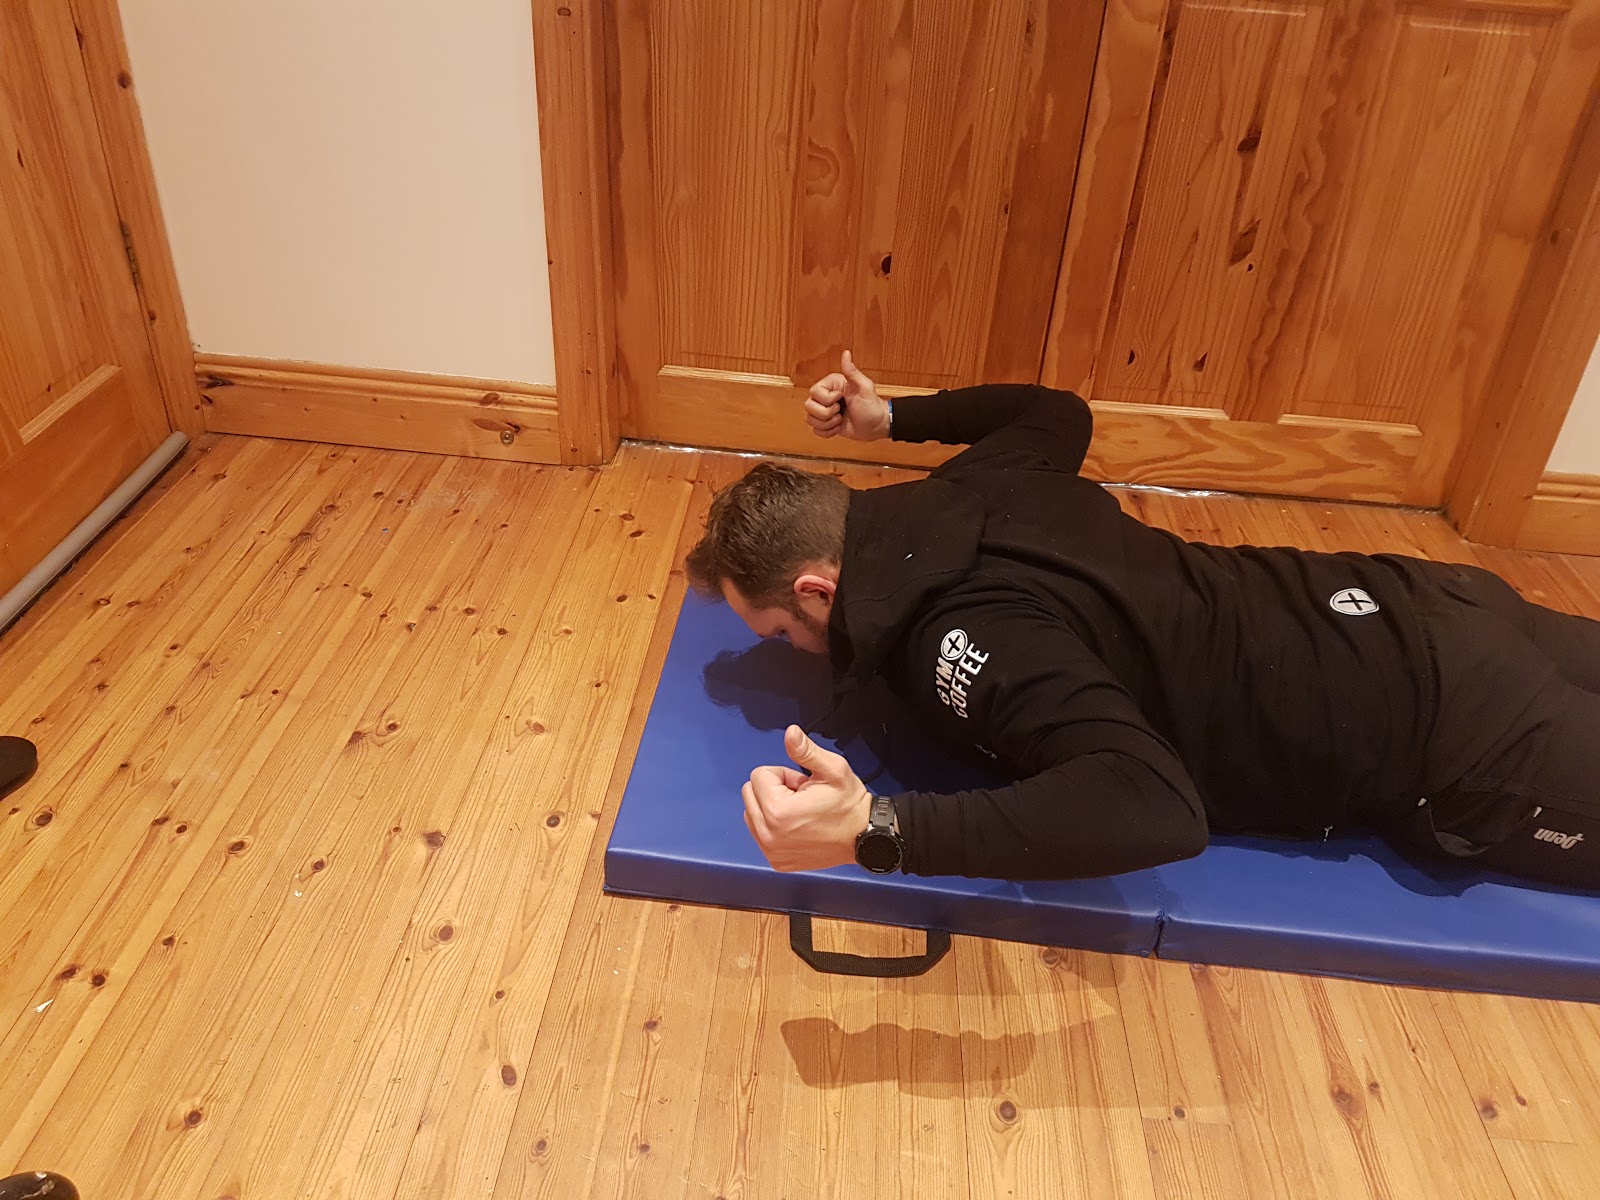
W-Move
Teaching Points:
- Thumbs pointing up
- Squeeze the shoulder blades together
This activation routine should not take too long to do; carve out ten minutes, 2-3 times per week. If you can do them before a swim session, that’s ideal, but as we can’t swim at the moment, use them with your S&C as a warm-up. Remember to take your time and build up the repetitions and weight as needed.
Swimming Drills
Once you’ve performed your activations, you can move into some drills to perfect your swim stroke. When I do a video analysis with an athlete, I try to make it as straightforward and as simple as possible. Triathletes are known to make things very complicated, but a swim stroke doesn’t have to be. For the purposes of this drill, I will be breaking the stroke down into four parts:
- Catch
- Mid
- End
- Recovery
Catch
Some people use the term catch but I prefer to use the term ‘Engage’ That is where the forearm is setting up the whole stroke. If you do not engage the forearm the rest of the stroke cannot be as effective. It is all about the set-up of the stroke and controlling the movement.


At this part of the stroke, a lot of triathletes overreach as they don’t have the flexibility in the shoulders. As the elbow drops, your palm will be facing forward and will slow you down. Throughout the whole stroke, the elbow should not go lower than the wrist. If you look at yourself underwater at the start of the catch you will see if you are overreaching or not.
Overreach
If you notice that you are overreaching, I would suggest engaging sooner in the stroke—your palm should never face forward (like the photo above).
Mid
At this point in the stroke you are leading with the hand and not the elbow. The pressure should be pointing back to the feet and not down to the floor. If you push back you will go forward. We are trying to have your forearm as close to 90Degrees as possible throughout this part of the stroke.
Teaching Points:
- Fingers pointing down
- Forearm nice and straight

Elbow lead
Teaching Points:
- The hand should feel the pressure and not the elbow
- Keep the elbow up, wrist straight and palm facing back

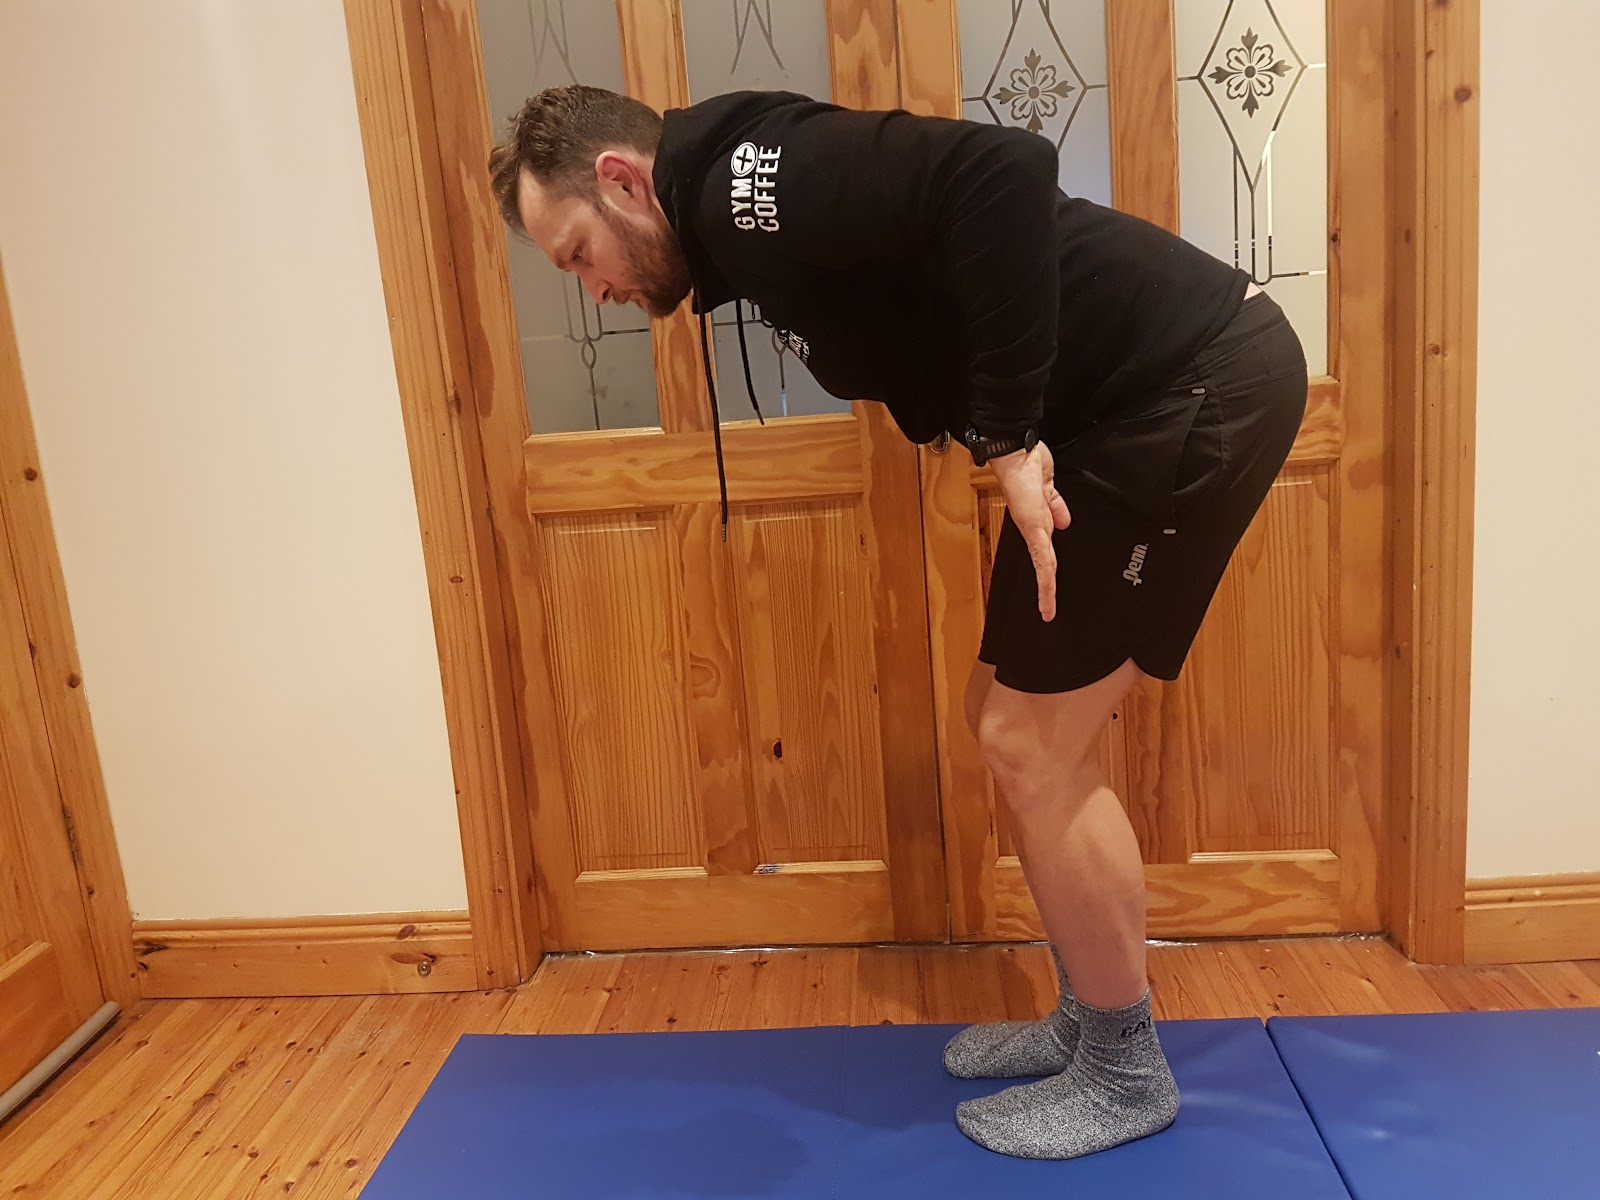
End (Tricep extension)
This is the end of the underwater part of the stroke. When we start to fatigue the distance per stroke gets shorter. The more tired we get the shorter the stroke gets. It is VERY important to finish the stroke by brushing the thumb off your leg with the elbow extended.
What we have to remember is to finish the underwater part and to make sure our distance per stroke stays the same, but in order to swim faster we need to increase the cadence of the arms and legs together.
Teaching Points:
- Elbow extended
- Palm still facing back

Recovery
The recovery part of the stroke is very individual. I find that the shorter or faster you swim the straighter your recovery arm is. Looking at the Olympic 50m Sprinters. They swim like a windmill.
I think that the underwater part is the most important. That is the part that makes you go forward. The recovery part is like running on a treadmill. You are just transferring the arm from the back to the front to set yourself up for the next stroke.
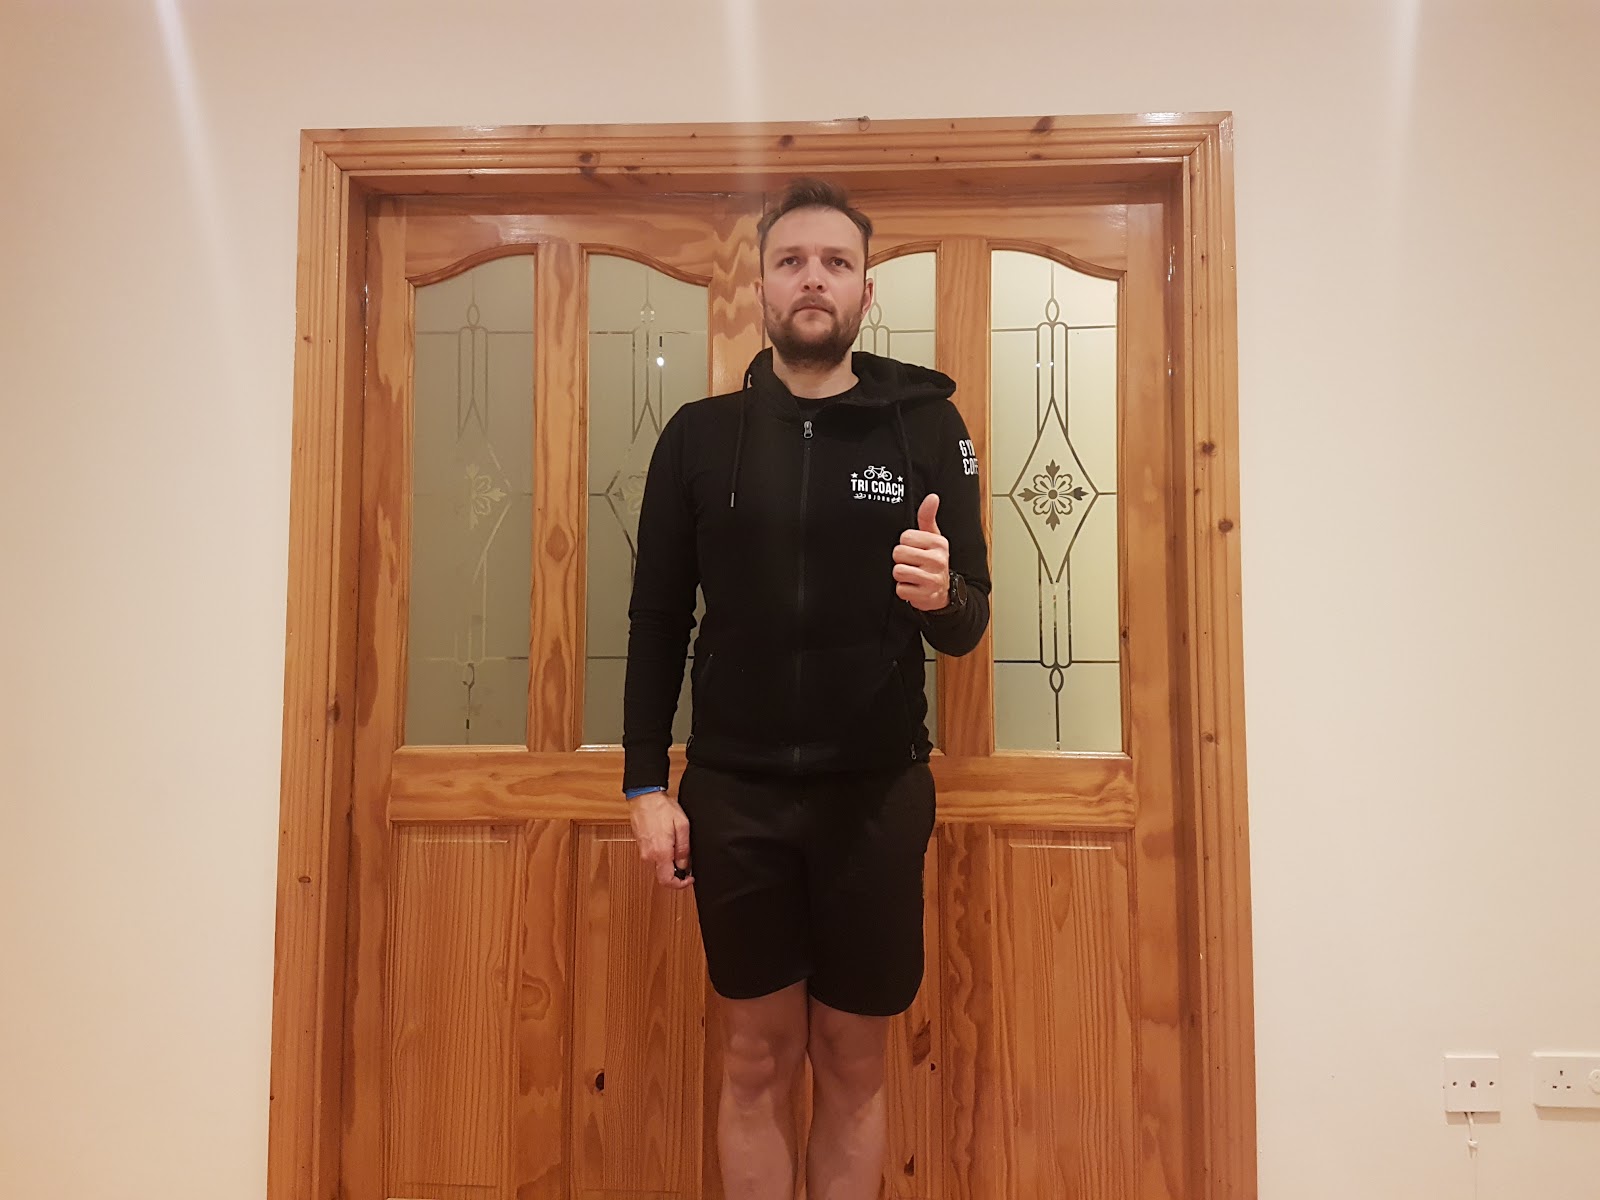
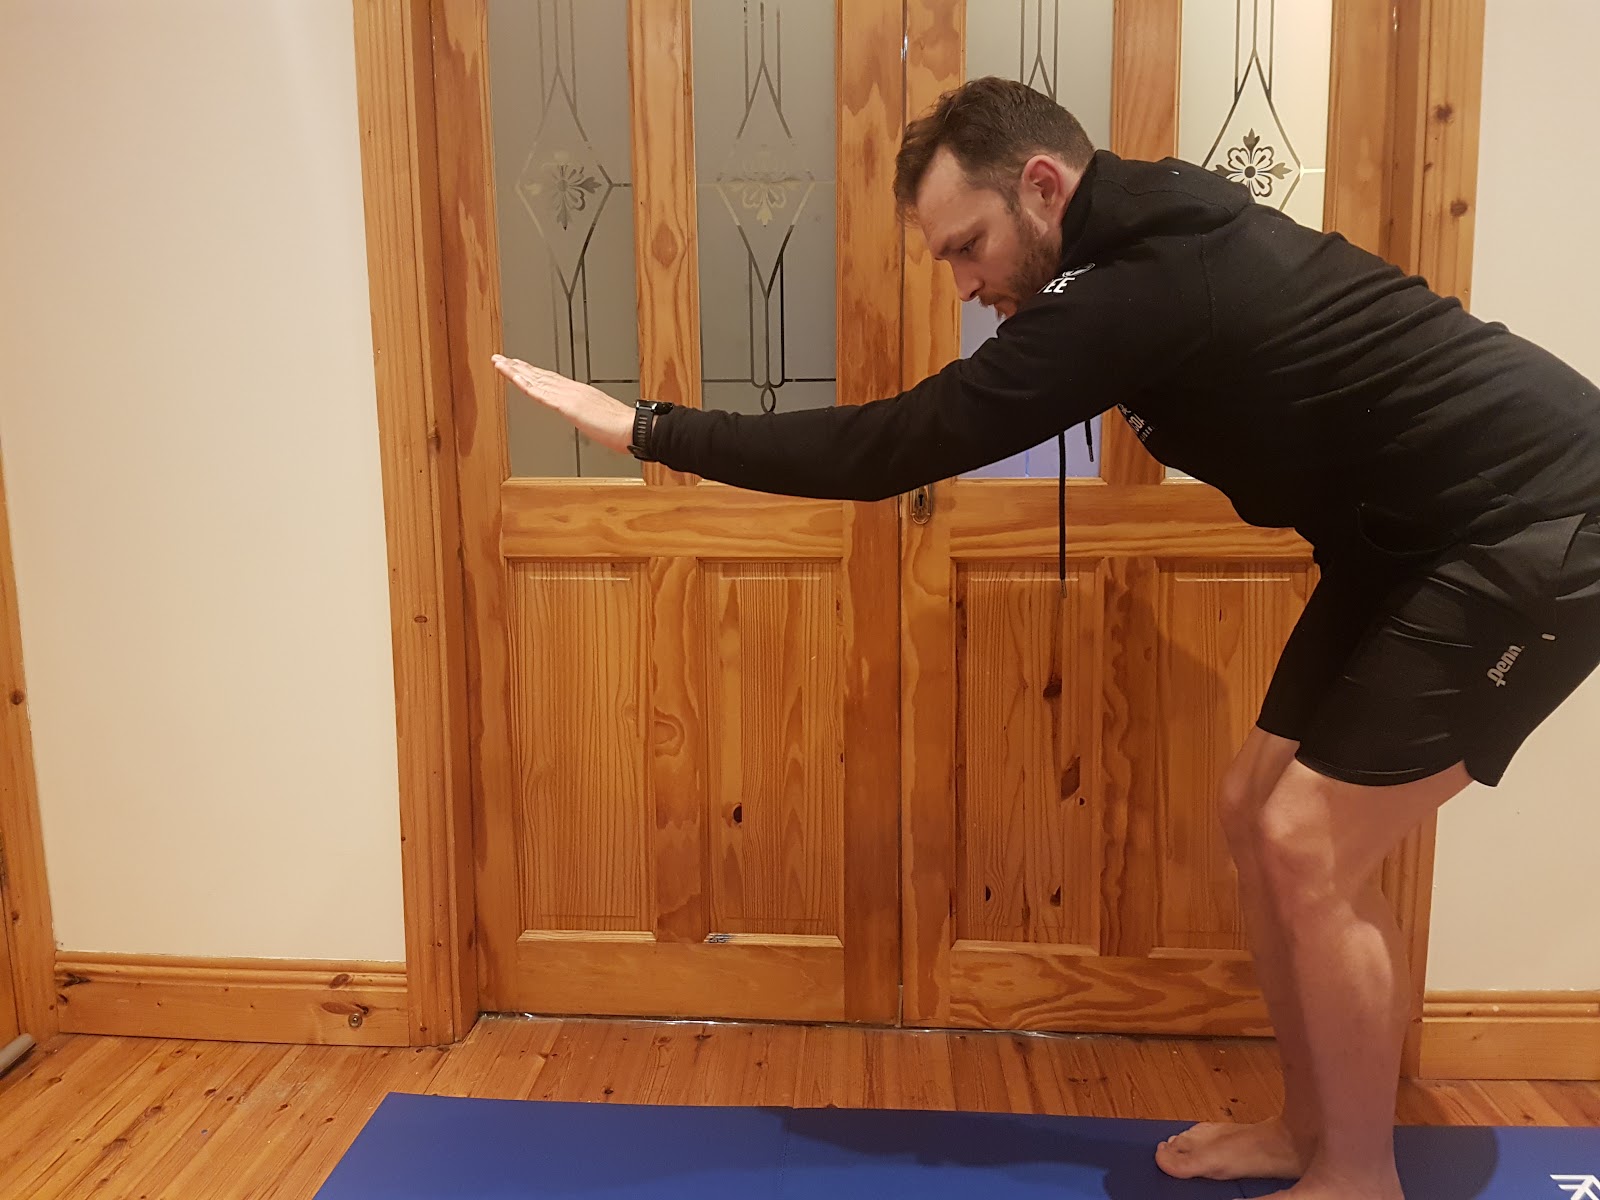
Exercises with Dyna Band
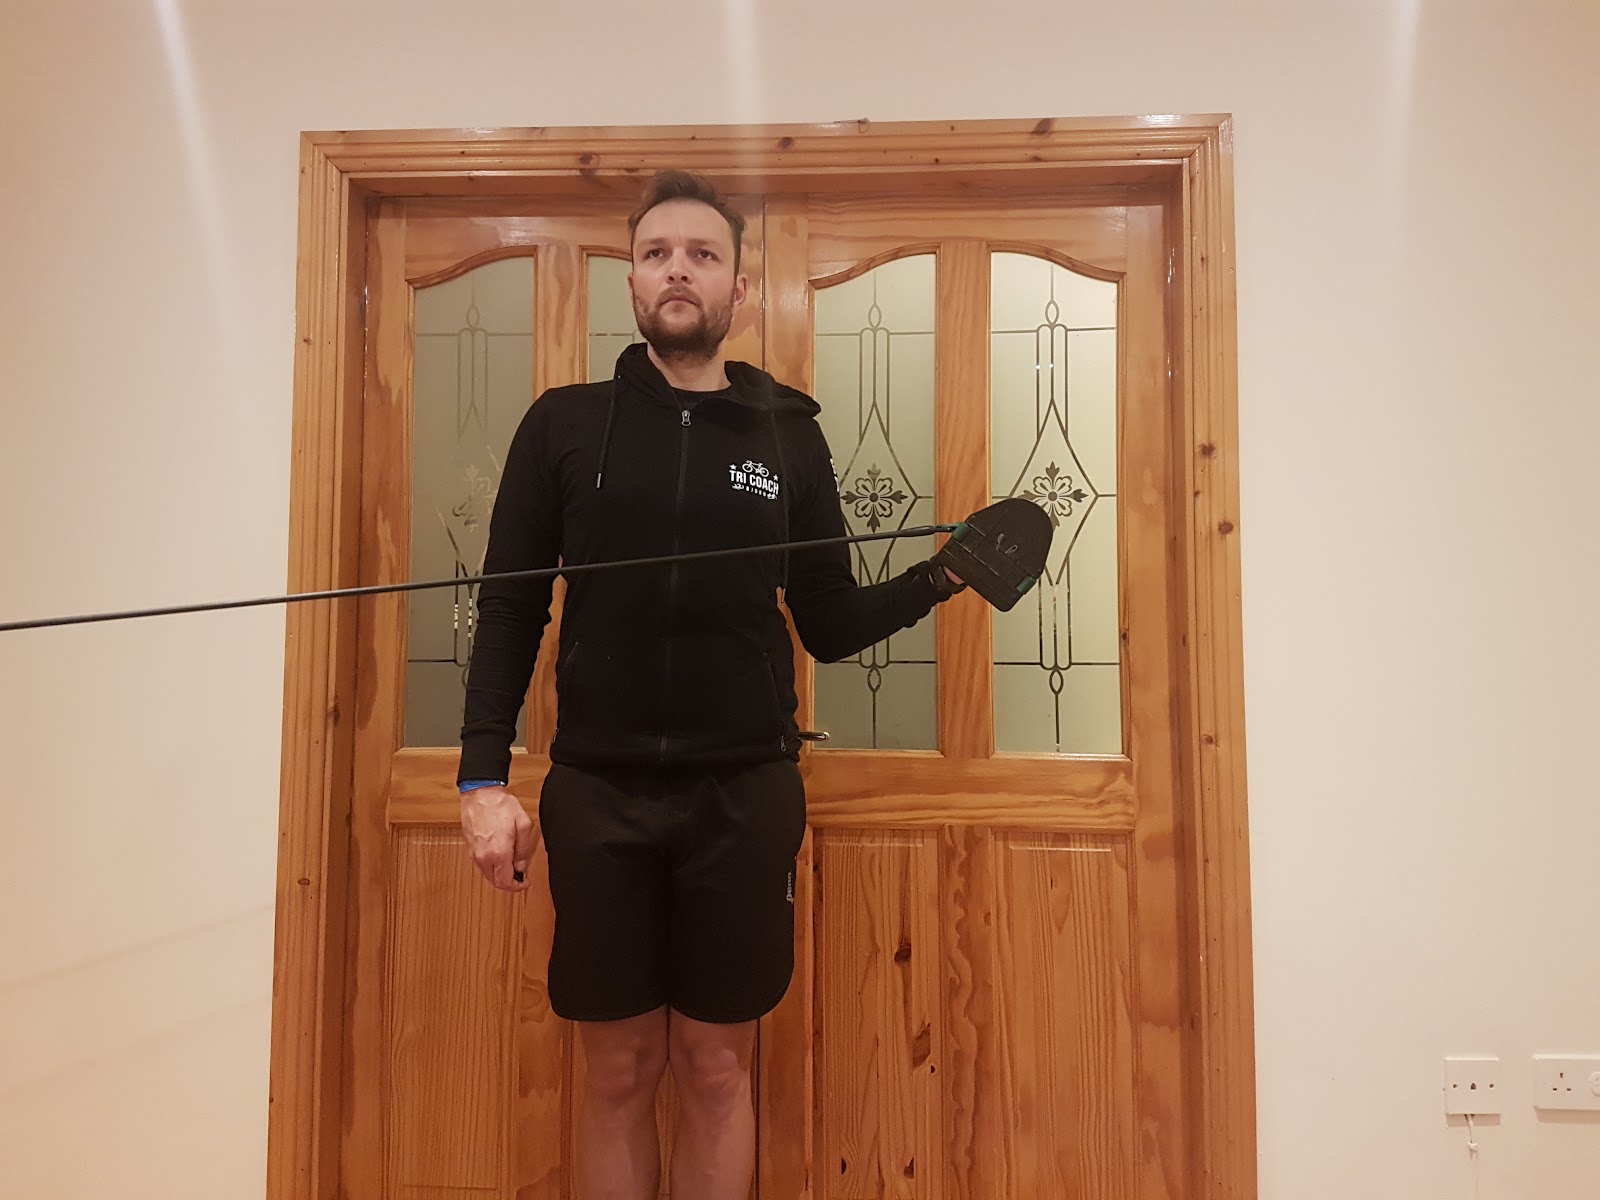
Catch


Mid
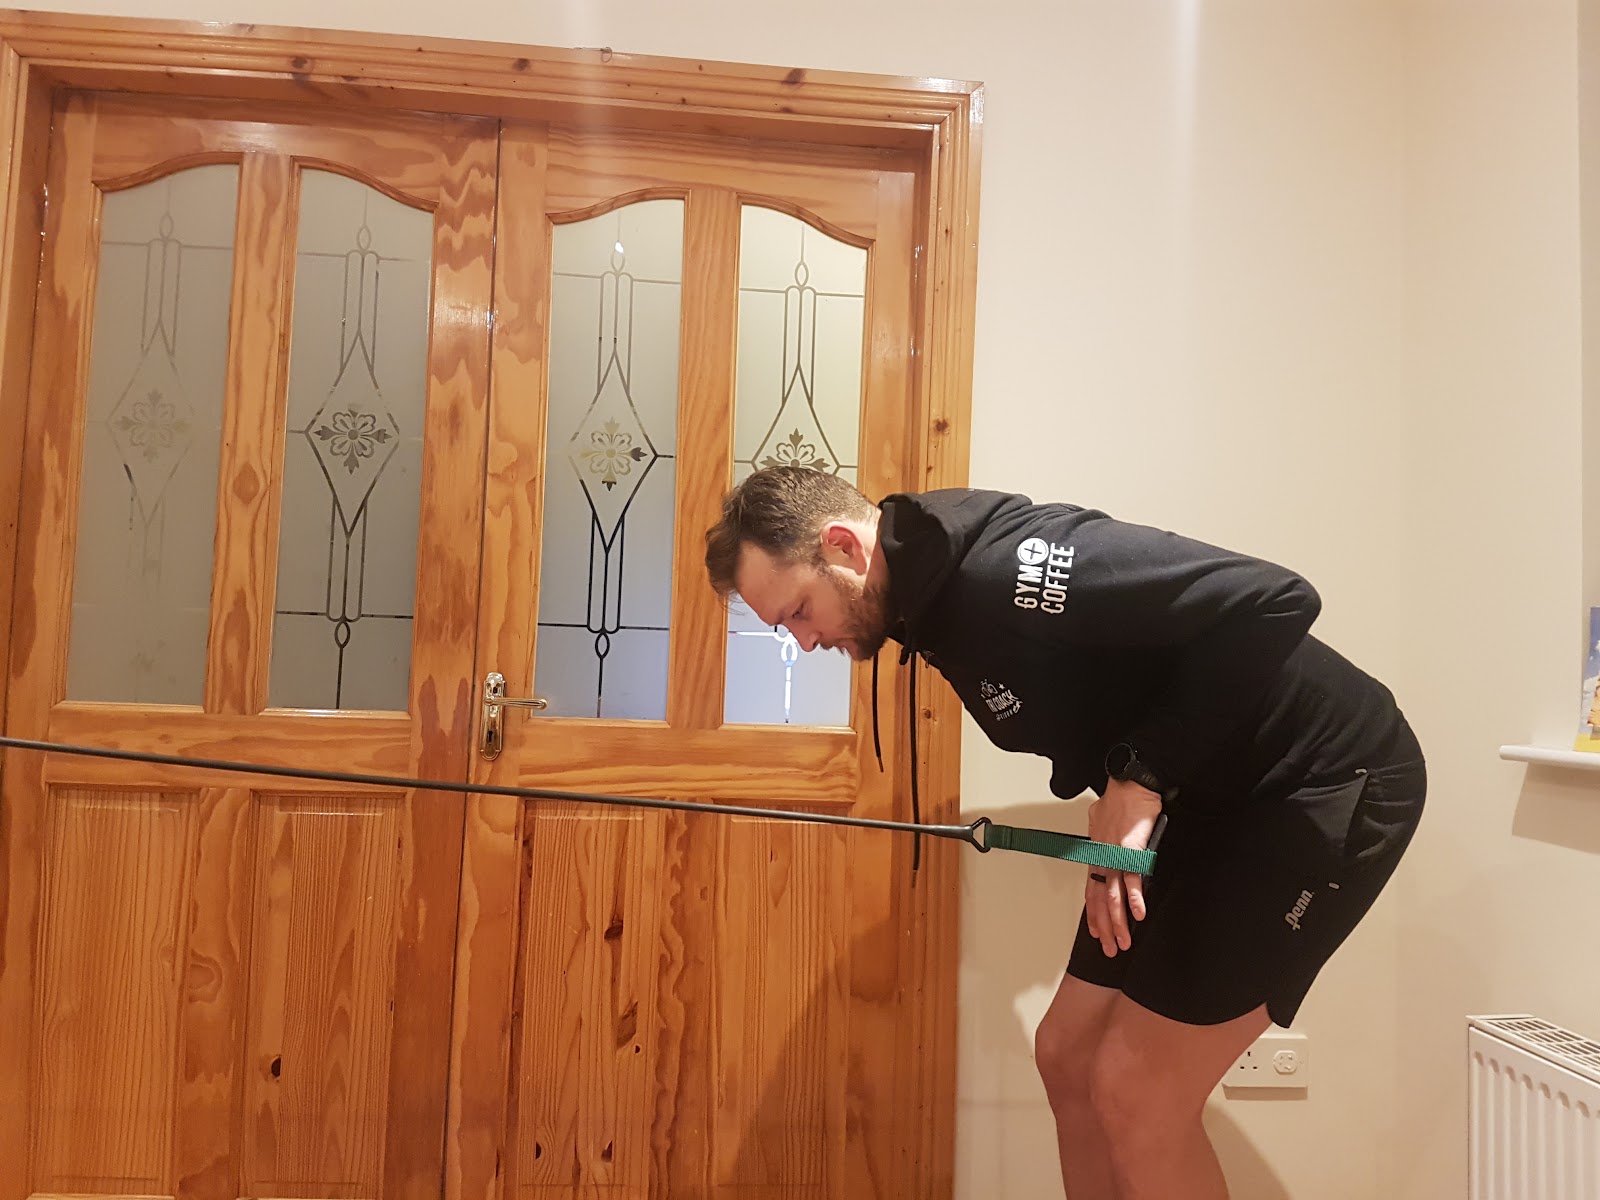
End

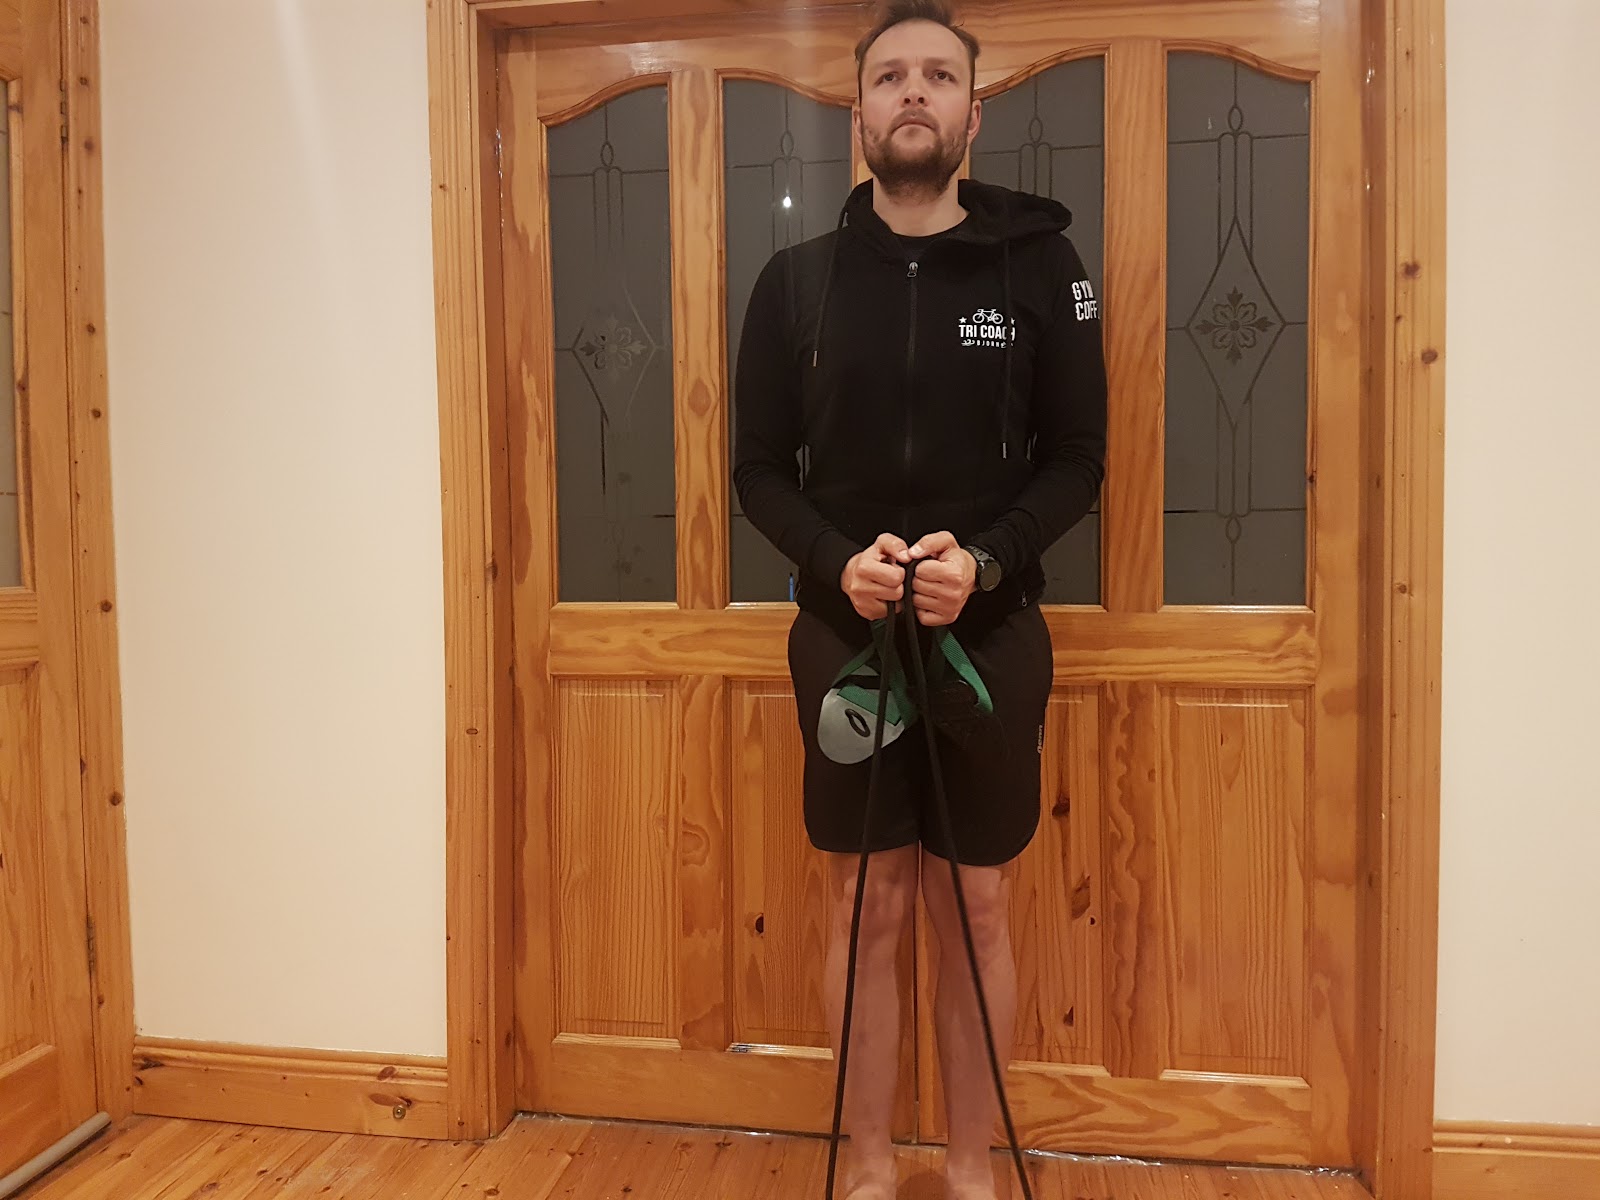
Dyna Band Tips:
- Make sure the bands are secured properly in a door with no window.
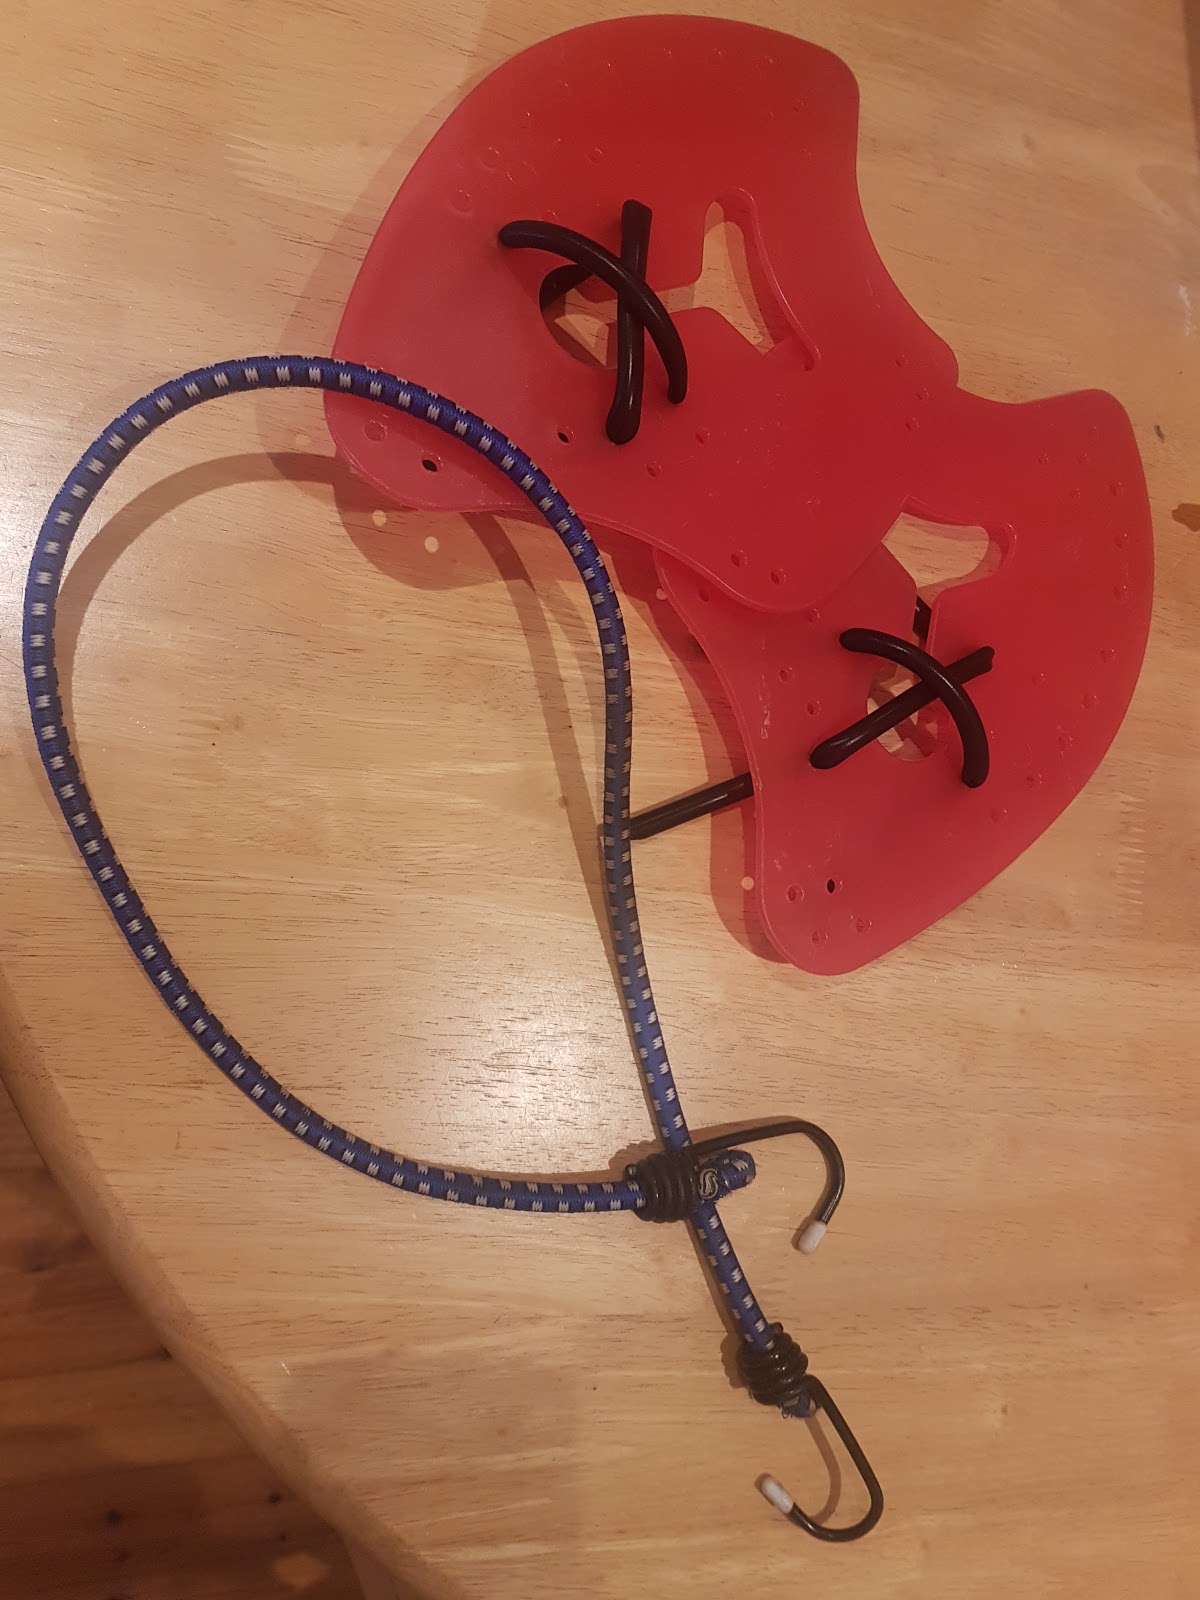
- DIY dynabands can be used, but make sure that the paddles or bands won’t slip out.
- Any elastic band can be used, some people use old bike tubes!


Sets and Recovery
Swimming with Dynabands is harder than swimming in a pool, so you may feel a bit tender after each session. Some foam rolling and stretching after each session would be advised.


